
Who knew there were so many things you could do with your Silhouette? When I first purchased this machine, I didn't have a clue. Now, just about any project I do, I look to my Cameo for help.
This month's Silhouette Challenge is April Showers Bring MAY Flowers. I thought pretty deeply about this one. I was going to do a paper flower wreath (which I did and is probably the blog under this one), but I'd seen it before. I was going to do paper flowers in paper terra cotta pots from the SIL store, but I'll be working on those for my son's birthday this month and didn't want to do them already. So I decided to share my new passion with you all...metal etching! It is seriously a ton of fun!


Things you'll need:
*Scrap of vinyl
*Metal blanks (copper, nickel silver or brass)
*Jump Rings
*Steel wool (.0000)
*Sharpie Marker
*PCB etchant solution
*Baking soda
*Rubber Gloves and Goggles

First you want to clean your blank with the steel wool. Blanks usually have an oily residue left behind from the cutting process and this will effect the etching.

Next you want to apply your vinyl. I'm showing you two different ways. The etchant will eat away at the metal that is not covered by a resistant. I will be filling those stencil pieces with black sharpie. So far I have found Sharpie and vinyl to be great resistants. Stayz-on stamp ink works well too but this is a silhouette challenge :)
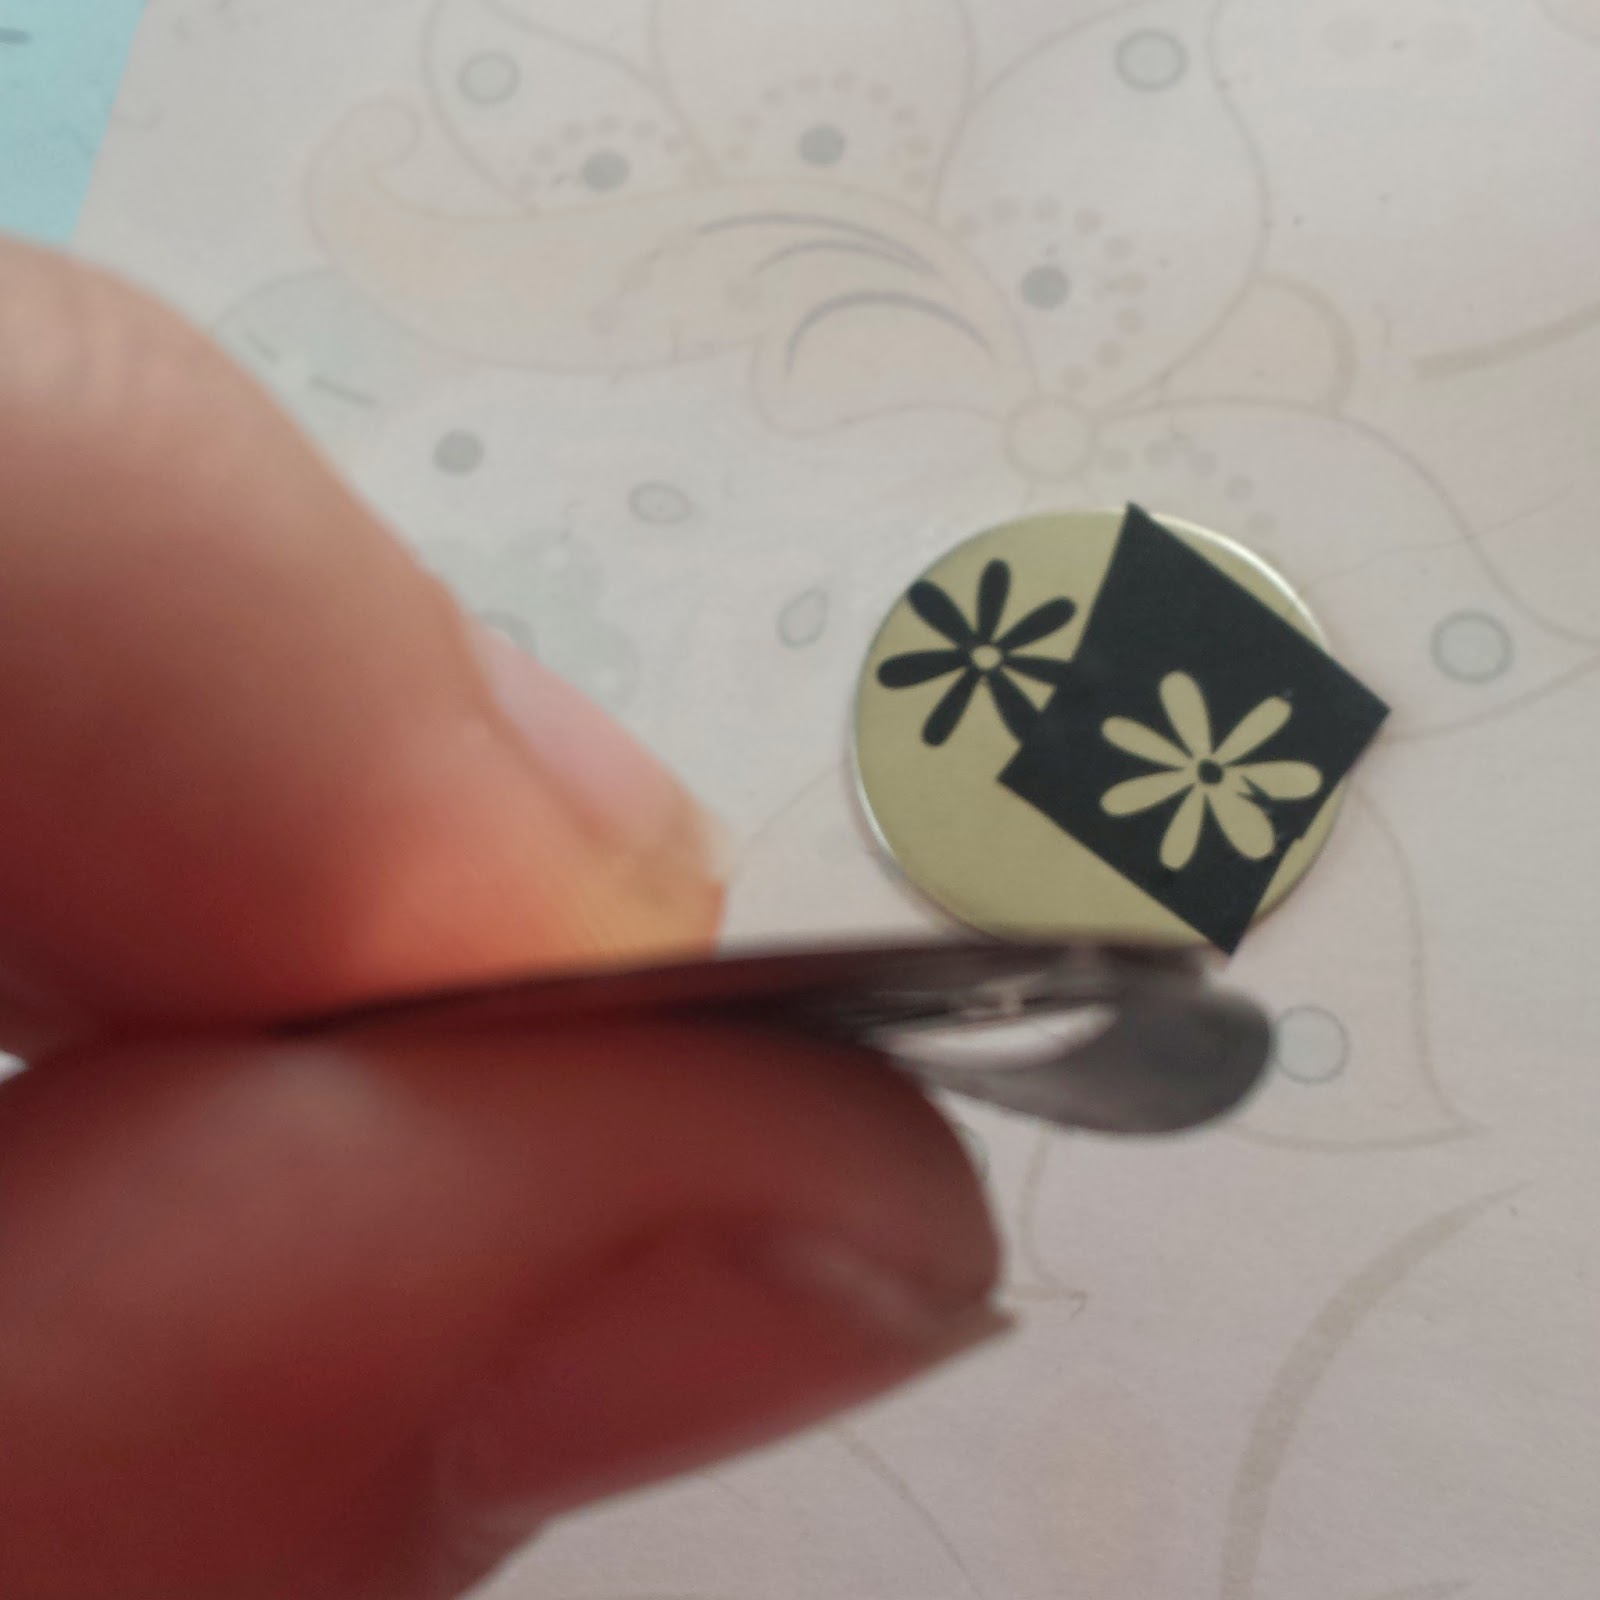
You also want to use Sharpie on the edges of your blank. This is very important. If you skip this step the edges of your finished project with be rough and jagged because the etchant will eat away at it.

So again, anywhere where there is a resistant, the metal will not be etched. I like using Sharpie when I want a hand written look and vinyl for more detailed work. You can see that vinyl gives you a much cleaner edge. I added little dots around the edge for some extra decoration.

Now for etching. I made myself this little foam boat, but most people just use packaging tape to suspend the blank in the solution. Do not let the blank rest on the bottom of your etching container.

Wrap packaging tape all around your boat and make sure the blank is firmly pressed onto the tape. You don't want it to etch the back side. If you are just using tape, same thing, make sure they are firmly pressed onto the tape.

Put on your rubber gloves and goggles...safety first! Pour some etching solution into a plastic container. And float your blanks on top of the solution. Again, do not let them touch the bottom of the container. Let it take a nice etchant bath for about 20 minutes. Wearing gloves, take your boat out of the solution and check the depth of the etch. Here is where I usually prefer sharpie because you can really feel where the etching is. I take a tooth pick and drag it across the blank to check for depth. With vinyl it's a little harder to do, but still doable. If it isn't etched as deep as you'd like, put it in for another 10 minutes. The older your solution is, the longer it will take. I've etched about 6 times with this batch of solution and it took this batch of blanks about an hour. If you forget all about it, you will come back to an empty boat. It will eat all the way through the metal.

When it's done etching, transfer it to another container with 1 part baking soda to 10 parts water. I usually use Tablespoons. Let that rest for a while. Go do something while you wait. I usually give it 10 minutes or so. Rinse in warm water.
***Please dispose of solution properly. Do not pour down your drain, it will etch your pipes, plus it isn't good for our water.***

They look a little rough when they come out of their baths. Give them another swipe or two with the steel wool to shine them up and erase the sharpie. Remember the edges.

Use a metal hole punch to punch holes in the top.

Add a jump ring and proudly display your new creation on a key chain or chain. I love these! I think these will be some key chains for teacher gifts...or myself!
To purchase some of these beautiful pendants, please visit my other etsy shop.
Want to Check Out More Silhouette Projects?
My Silhouette Challenge buddies and I are all sharing projects on our blogs today, so peruse the projects below for a wealth of Silhouette inspiration!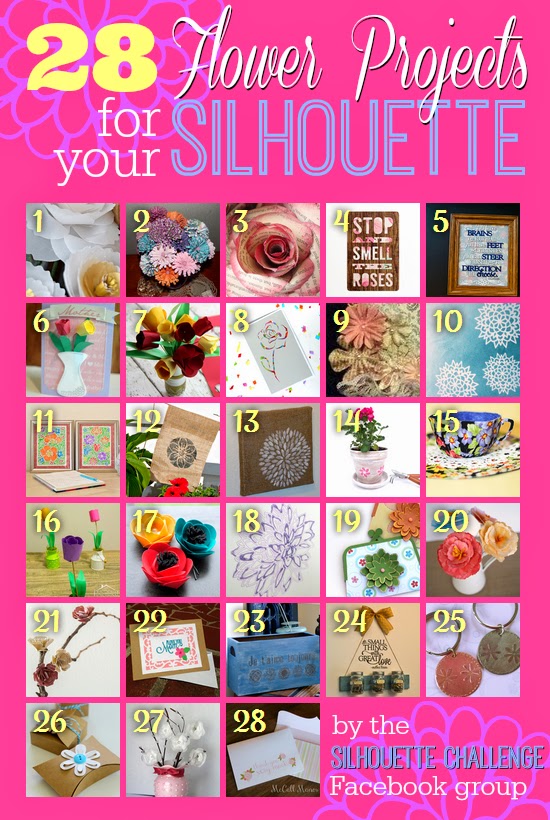
1. Create & Babble // 2. Kate's Paper Creations // 3. Please Excuse My Craftermath // 4. Tried & True // 5. unOriginal Mom // 6. Mama Sonshine // 7. Adventures in All Things Food & Family // 8. The Experimental Home // 9. The Outlandish Momma // 10. Whats Next Ma // 11. Dream a Little Bigger // 12. Silhouette School // 13. Creative Ramblings // 14. Our Rosey Life // 15. Bringing Creativity 2 Life // 16. Practically Functional // 17. Minted Strawberry // 18. Two Purple Couches // 19. Simply Kelly Designs // 20. Grey Luster Girl // 21. TitiCrafty // 22. My Mom Made That // 23. Architecture of a Mom // 24. My Paper Craze // 25. The Sensory Emporium // 26. Ginger Snap Crafts // 27. Mabey She Made It // 28. McCall Manor //
Wow! Brooke, these are fantastic! I've never seen metal etching before and had no idea it could be a diy thing! Thanks for the amazing how-to...and I had to laugh about your reminder to not 'forget about it, you'll come back to an empty boat', lol! That so sounds like something I would do! Great project!
ReplyDeleteThank you! I love them. It's a pretty simple DIY, but make sure you take the proper safety precautions. This stuff scares me...Although I'll admit, now that I have the boat, I don't use the gloves quite as often...oops :)
DeleteThese are amazing! Can't wait to try this!
ReplyDeleteGood luck! I love it!
DeleteAbsolutely friggin' fabulouso, Brooke! (Can you tell I like it?) In addition to liking the project itself, I like that you took the theme and did a twist on the expected.
ReplyDeleteThanks! I figured a lot of people would do paper flowers and mother's day cards. I wanted to break it up a little. I actually had a hard time thinking of something else, so I appreciate that you appreciate it :)
DeleteBeautiful!!! I love this idea. Need to go and get some supplies!
ReplyDeleteI suggest getting quality blanks. The ones from the hobby stores don't etch as well. Good luck and thank you!
DeleteAwesome! I'm a metalworker as well as a papercrafter and I love your project.
ReplyDeleteYou should be able to use the actual vinyl as a resist too :)
Thank you! Yup, I do both. I actually prefer vinyl as a resist. Cleaner lines.
DeleteHoly cow! Your project is so impressive and I love how it turned out. Thanks for sharing all the "how to" details too.
ReplyDeleteThank you! I really love metal etching. Now to get some pieces to sell!!
Deletevery nice, I finally understood metal etching but i have a couple of questions - you tapped the blanks to the foam will the liquid penetrate through the tape and etch properly? also what is the min required gauge or thickness of blanks that can be etched
ReplyDeleteI did the tape backwards, so only the back side is taped to the foam. The front side is exposed to the solution. I'm not sure of the minimum gauge. I am using 18 and 22 gauge.
DeleteWow, these are so pretty! I didn't know about metal etching before. Thanks for the great tutorial!
ReplyDeleteThank you! Metal etching is a ton of fun. I just recently learned about it and have so many ideas. I just have to sell some pieces first!
DeleteI love this! I am taking a metal etching class tomorrow , so excited to know I can use my Silhoutte in this new craft!
ReplyDeleteThis is an awesome project idea. Thanks for sharing. A new idea I hadn't thought of doing.
ReplyDeleteThis is awesome! Can I just use the vinyl to cover up the part of the metal I don't want etched?
ReplyDeleteSorry I missed this comment earlier! Yes, you use the vinyl to cover what you don't want etched. It works as a resist and the acid can't eat through it.
DeleteThis comment has been removed by the author.
ReplyDeleteLet me say my thanks for this wonderful project. This was very educative tour to this beautiful blog place. Etching is definitely an art. The metal etching project details and experience you shared here was really very useful. The photos also are looking so excellent. I also wanted to learn electro-chemical and laser etching process and procedures and how to use the machine and after taking a short tour to https://www.heatsign.com/electrochemical-etching-vs-laser-etching/, I entered here and impressed with what your presented for your fans and readers.
ReplyDeleteThis comment has been removed by the author.
ReplyDeleteFor the latest mine and quarry equipment, solutions, cases and parts information, please visit website
ReplyDeleteI really need to do this, the laser has just been gathering dust laity as I have not had any time to mess with it. I use to Engraved Wine Glasses
ReplyDeleteEngraved Barware
ReplyDelete