
So recently I've been working on my family's meal planning. Rewriting all of our recipe cards. Getting the recipes off Pinterest and transferring them to my new plan...it's slow and a lot of work, but it's an attempt to organize. And of course I used my cameo to sketch the new recipe cards.

Okay, so lets get started.

I make these really cute wood frames with a clothes pin and a cute quote. Well when I went and got wood cut the last time, this was the end of the board. He threw it in the scrap bucket and I was like, "Hey! I want that." Well I didn't really have a use for it. Until now. So it measures about 5.5x7 inches or so. I painted it with Delta Ceramcoat Light Foliage Green. It matches my dining room and dishes.


I wanted to give it a little patina. So I put a little of my accent color on a piece of paper (I got way too much, but I wanted you all to see the color). You really only need about a dime size dot. I used this little dauber brush, dip it in the paint and dab all the excess off. You want it to be pretty "dry"

Now for the vinyl. I want to show you all reverse weeding because this has saved me from a lot of tears and wasted vinyl. These pictures are a little hard to see, but I'm going to talk you through it the best I can.
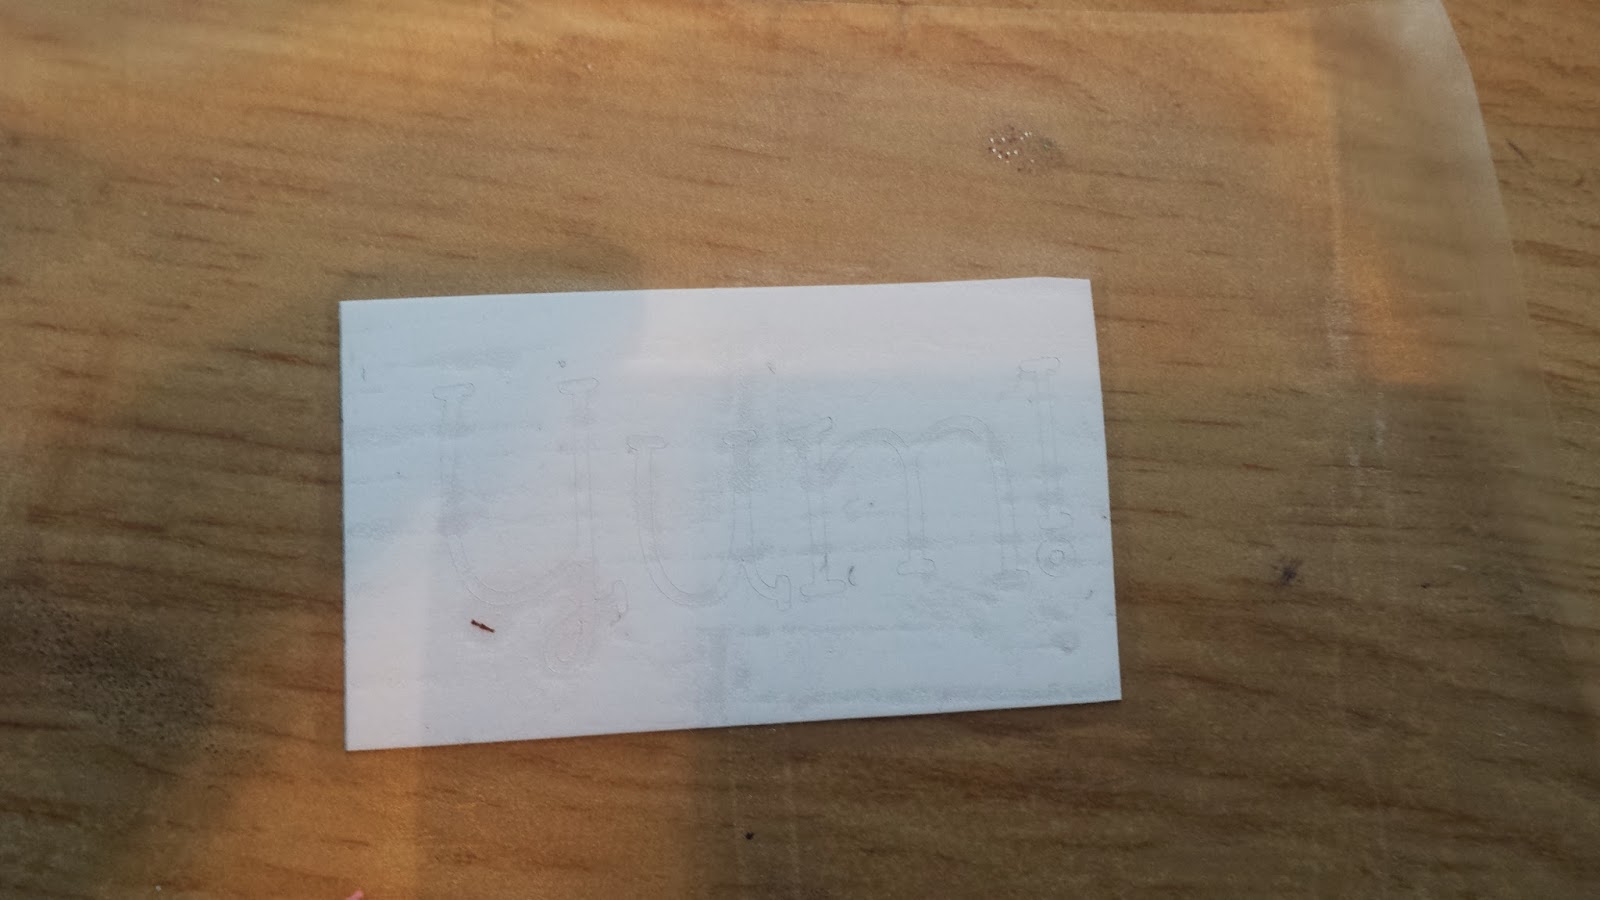


So now your word or words are on the transfer paper and ready to go onto your project.

I love this close up. I love the beat up wood and the texture!
So here is my recipe holder. But I knew I didn't want to have that displayed all the time. I mean a lot of stuff I can cook from memory but others I can't. So I wanted something I could display full time.


So on the back side, I did this. Then as I'm getting ready to blog and finish up pictures I realized I don't have a recent family picture. This is from my sister's wedding in February.


Want more Silhouette inspiration? Check out the blog hop below for more awesome projects!

- 2013 Snowman Christmas Card by Please Excuse My Craftermath...
- Christmas Hoop Art by Lil' Mrs. Tori
- Silhouette Nativity Advent Candle Box by One Tough Mother
- Christmas Party Photo Booth Props by unOriginal Mom
- Another Stenciled Tea Towel by Cutesy Crafts
- Silhouette Gift Tags by Rain on a Tin Roof
- Snowflake Pin / Ornament by Coley's Corner
- State Sign Couple Gift by It Happens in a Blink
- Mason Jar Christmas Ornaments by Vintage News Junkie
- Merry Christmas Wall Decor by One Artsy Mama
- Deer Head Holiday Banner...featuring Santa's Reindeer by The Thinking Closet
- Restore your UGGS (with PAINT) by From Wine to Whine
- Monogrammed Snowflake Ornaments by Architecture of a Mom
- Christmas Countdown Sign by The Girl Creative
- Elf Chalk Sign: "The Best Way to Spread Christmas" by Weekend Craft
- Glittery Christmas Subway Art by The Turquoise Home
- Sketch Pen Labels by Sowdering About in Seattle
- Snowflake NOEL Sign by My Favorite Finds
- DIY Holiday Hostess Gift by Everyday Paper
- Folding Nativity Backdrop by Chicken Scratch NY
- Recycled Glass Jar Advent Calendar by Nearly Handmade
- Reindeer Card: Double-Sided Print & Cut by GetSilvered
- Personalized Block Ornament by Suburble
- Paper Medallion Christmas Tree by Create & Babble
- Mini Mid-Century Homes by Tried & True
- Glitter and Vinyl Minecraft Christmas Ornament by A Tossed Salad Life
- DIY Countdown to Christmas Refrigerator Style by My Paper Craze
- Reversible Recipe Holder/Block Frame by The Sensory Emporium
- DIY: Lettered Christmas Pillows by The House on Hillbrook
- Simply Charming Christmas Ornaments by Life After Laundry
- No Glitter was Worn by GiveMeAPaintbrush
- Make Easy Ornaments from Paper Circles by Bringing Creativity to Life
- Cutting Machine Embroidery Applique by Terri Johnson Creates
- "Believe" Christmas Banner by Daily Dwelling
- DIY Christmas Nativity Card by Pitter and Glink
Such a neat idea! And so versatile! These would be great (and easy!) Christmas gifts. Thanks for sharing!
ReplyDeleteI didn't even think about using them as Christmas gifts! I don't know many cookers in my family though. Had to get another board cut today though and I have another scrap, so someone might be getting one!
DeleteWhat a great way to get rid of some scraps. And I dig the reversibility. Meredith is right, these would be amazing Christmas presents to make!
ReplyDeleteI thought the reversibility was pretty clever :) It's is very useful too. I didn't know just how much I'd love it until I used it.
DeleteAwesome project! Anyone would love one of these.
ReplyDeleteI think this would make a great gift for the cooks in our lives! Might just have my youngest daughter's name on it for a Chrsitmas gift! Thanks for inspiring me to get busy~
ReplyDeleteThank you and you're welcome! I know if I didn't make it, I would love to get it.
DeleteI love that it's pretty on one side but functional on the other. Great job!!
ReplyDeleteWhat a fantastic idea. I love this!
ReplyDeleteOh, I love this, especially as a recipe card holder! I'm a sucker for those mini clothespins! So cute!
ReplyDeleteWonderful idea and I love that it does double duty!
ReplyDeletePam
Great idea for stash busting! Your project turned out wonderfully!
ReplyDeleteSo smart to utilize BOTH sides of that wood block. And now you've inspired me to get our old menu planner system back up and running! (It needed a fix with some glue and of course, I threw it in the closet and promptly forget about it.) Anyway, I agree with the comments above, that this would make a wonderful gift!
ReplyDeleteThanks for participating in our December Challenge!
ReplyDeletehttps://www.gladwingroup.com/interactive-led-flat-panel-display-supreme-9-series.php
Adopt full aluminium alloy panel structure, anodized surface process, ultra-narrow frame,
rounded corner design, fashion and beautiful appearance
The OPS host module adopts plug structure design, internal Inter standard 80pin interface, without any external power line and signal line, which is convenient for inspection, maintenance and upgrade, and achieves the aesthetic effect of the machine
Front side speakers, Prevents noise distortion due to embedding
Adopt a high-performance infrared touch technology with anti-blocking and anti-stain functions, and the touch reception will not affect normal writing
after blocking at single or multiple infrared transmitting points;
ReplyDeletehttps://www.gladwingroup.com/interactive-led-flat-panel-display-supreme-9-series.php