See, it's sad. And that taped area, gross! I felt like food and grossness was getting under the tape. Ewww! Something needed to be done.
See ya later old icky table. We've seen some happy crafting together (paint splotches) and some happy family memories (more to come), but it's time for you to go!
The happy tools I used for the job. I used my iron to heat it up, the knife to get under the laminate in tougher spots, and the sanding block after it was all off.
For the most part, it peeled right off. The edges caused me a bit of trouble. There is a lot of glue on the edges. Heat just seemed to make it stick. Uh-oh, did I just start a project I can't finish?
Not happy with the edges, but I came up with a plan...you'll see.
On to the next step. My table was particle board underneath. So I sanded it. Tools for this step are a paint pan (I used a plate), mini roller, and satin paint. I did three coats. I sanded between every coat.
After one coat.
Next step is the fun part! Figuring out what you want the top of your table to look like. I wanted fun, bright colors. I got 4 colors of acrylic paint, 4 brushes, masking tape, and duct tape (that's for later).
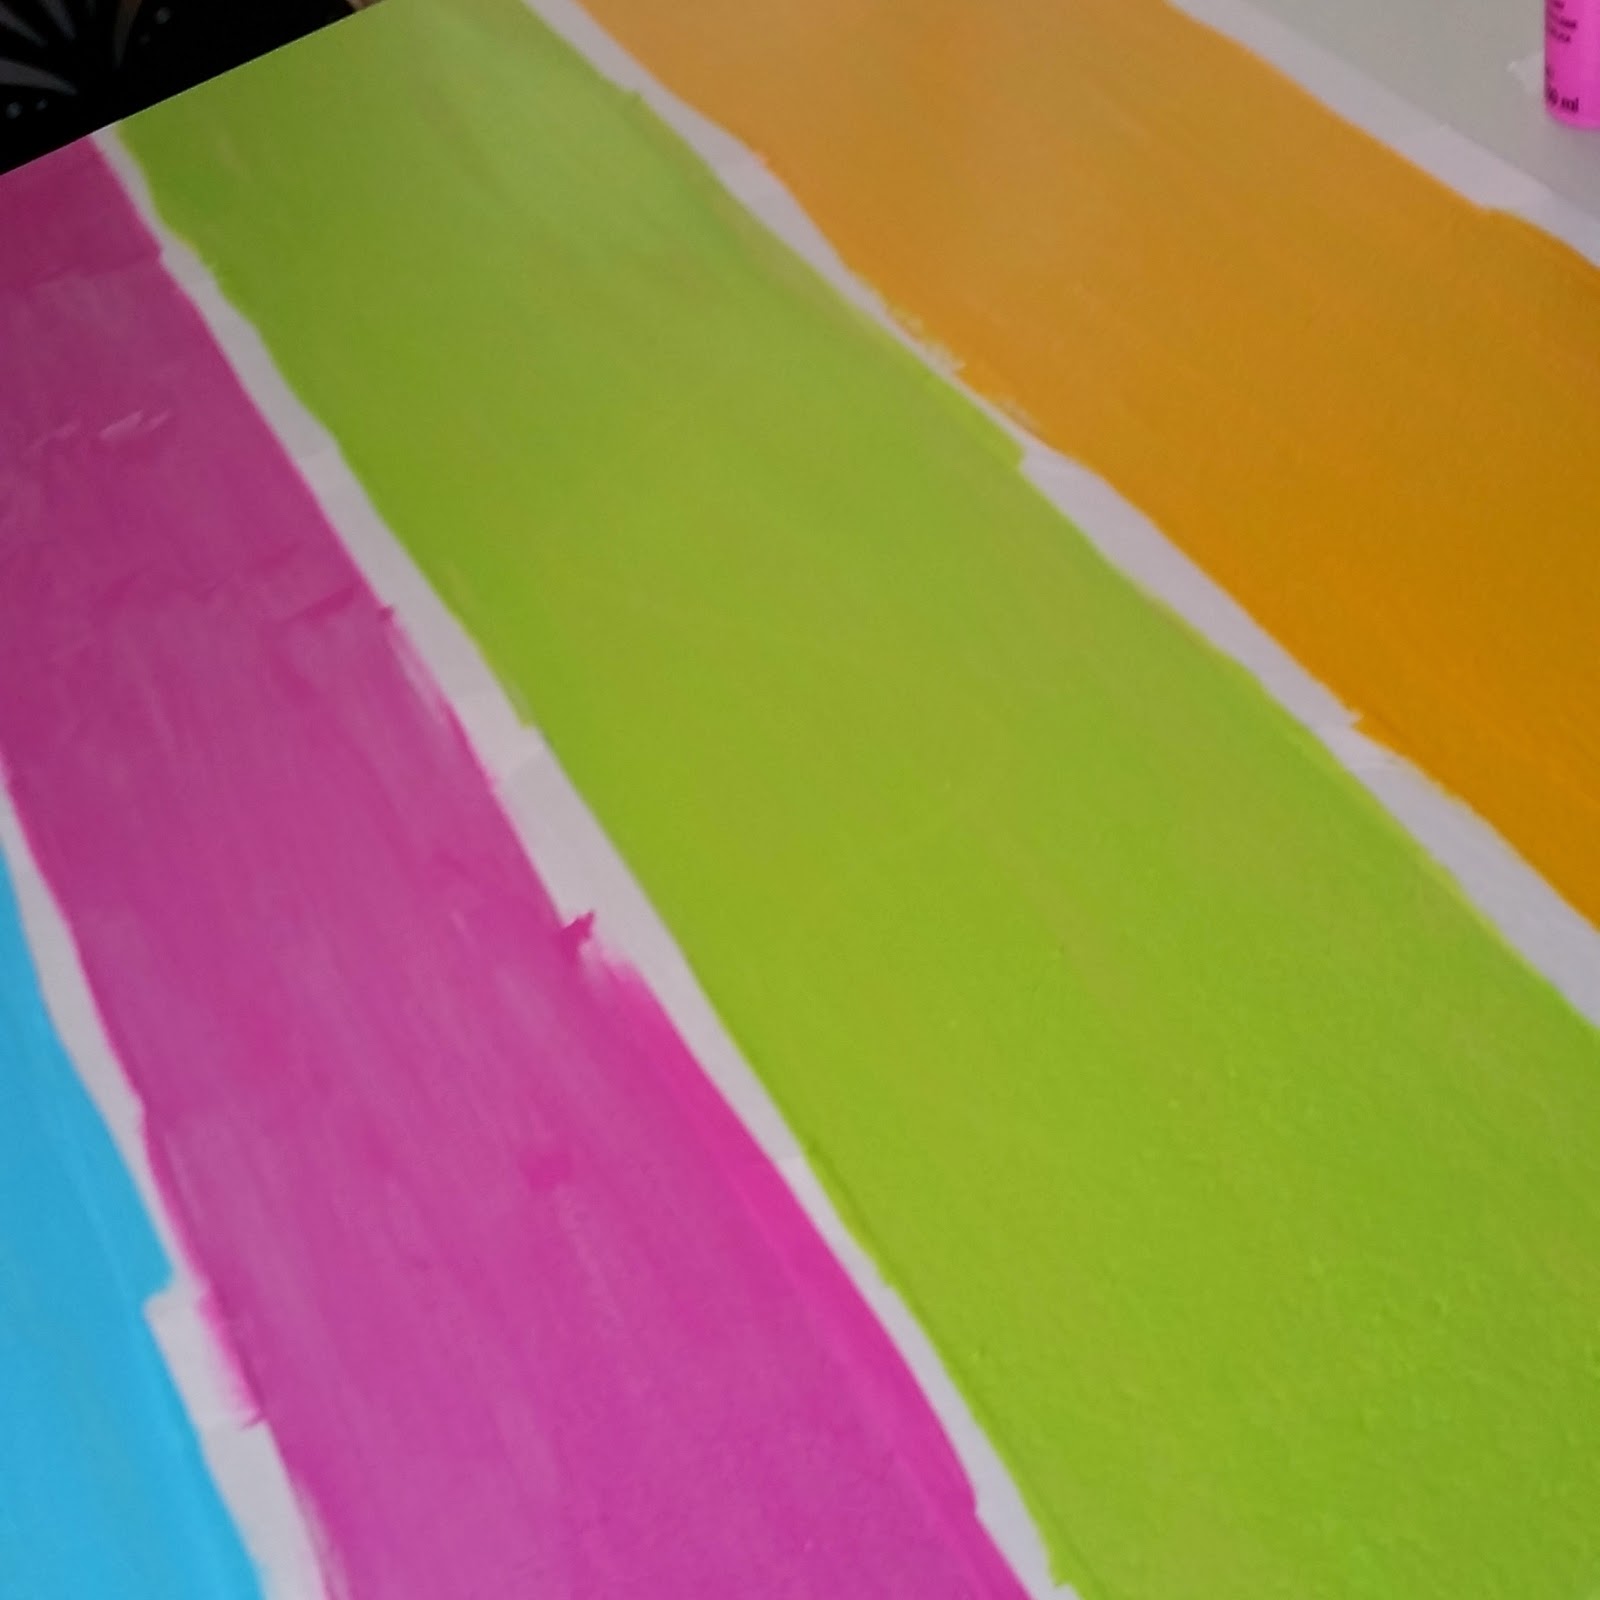
Tape off your design. I'm just doing stripes, so I taped off straight lines and labeled each section with what color it'll be.
Paint again! So bright and fun!
My favorite part is the reveal. I love peeling the tape off and seeing the result. Now, remember those pesky edges that the laminate just wouldn't come off? Duct tape! There are so many fun duct tapes out there. No more ugly edges!
Looking good, but I just needed a little more something.
Painted placemats of course! And the best part, the kids' placemats are chalkboards!
All done! And so much nicer. No more ugly tape, no germs getting stuck under tape. I'm so in love! Maybe this will be my forever table.


No comments:
Post a Comment