I'm going to work through this tutorial with the assumption that you have no idea how to use the new version of studio. I might not even be doing it right, but it's what works for me and it really allows me to zip through my projects quickly.

You are going to start with sizing your paper. I'm using a letter size sheet of cardstock, so I set my page up like so.

Next, I will be making my card 6x4, so I resize a rectangle to reflect that. I work with just the front of the card first. I'll make the rest of the card later.

I found these cute files in the SIL store. Crazy, but I have never sketched something I purchased in the store. I was very excited to try it out!

Then I designed by card front. I changed the line colors to the color I planned to use. So here you see I have the circle pink and the bunny brown.

Then I duplicate my rectangle, overlap them a bit and draw a line down the center.

Weld the rectangles together and then change the center line color to a different color. I do this because I'll be perforating the green line. Now I will say this is one thing that I didn't like. I want to be able to set my cut lines for this at the same time. I want the red and green lines to cut at the same time, but for the green to perforate and I couldn't figure out a way to do that at this time. Oh well, the process was already way quicker!

Now it's time to sketch! Here you see all my different line colors as layers. So first I'm going to sketch the black lines, so I check the black box.

Change to sketch pen option. Use a Silhouette Sketch Pen or use your pen holder to draw it out.

Click send to silhouette and ta-da just the black sketched. I'm so excited to not have to select and unselect all the different pieces!

Then just work through your different layers. Uncheck the colors you don't want to sketch and select the ones you do. Trust me, this is so much easier than it was before!

In minutes, I had two super cute cards for Easter! I was even motivated to make a couple more because it was so easy and fast!
I hope this was helpful as you start to learn V3 when it comes to sketching. I'll try to do a video soon.
Now let me show you something I've just started selling that you might need to add to your supplies wish list. A pen roll up! My pens are constantly all over the place. This keeps them all in one place and has a pocket for me to store my extra blades and pen holders. Much more organized! Right now I'm doing them as custom orders. Contact me on etsy so I can use fabrics that fit your personality!

It's a Spring theme for my blogger friends and me! Check out all these great Spring Projects to get you in the mood for Spring (not that that will be hard to do).
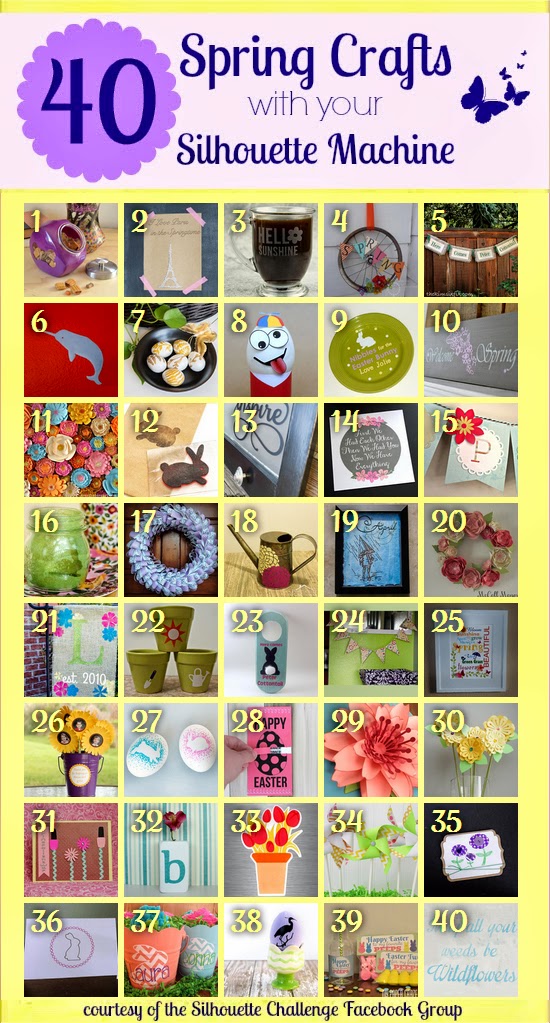
1. Dream a Little Bigger // 2. So Much Better With Age // 3. Adventures in All Things Food // 4. Creative Carnival // 5. The Kim Six Fix // 6. feto soap // 7. One Dog Woof // 8. The Experimental Home // 9. From Wine to Whine // 10. Architecture of a Mom // 11. Grey Luster Girl // 12. Minted Strawberry // 13. Designed Decor // 14. Tried & True // 15. Silhouette School // 16. Bringing Creativity 2 Life // 17. Weekend Craft // 18. Practically Functional // 19. Please Excuse My Craftermath... // 20. McCall Manor // 21. unOriginal Mom // 22. Creative Ramblings // 23. A Tossed Salad Life // 24. A Glimpse Into Barb's Life // 25. Kate's Paper Creations // 26. Simply Kelly Designs // 27. Cutesy Crafts // 28. Persia Lou // 29. Whats Next Ma // 30. Two Purple Couches // 31. The Frill of Life // 32. Nearly Handmade // 33. Get Silvered // 34. Ginger Snap Crafts // 35. Life After Laundry // 36. The Sensory Emporium // 37. Monograms & Cake // 38. The Thinking Closet // 39. My Paper Craze // 40. Chicken Scratch NY